Configuring ADFS 2016 (ADFS 4.0)
The following will give a step by step on how to configure QATrack+ as a client application in Active Directory Federation Services 2016 (AD FS 2016).
Adding an ADFS Application Group
First, launch AD FS Management, which can be located in the Start Menu under Windows Administrative Tools:
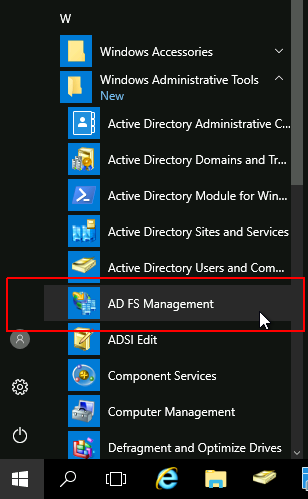
AD FS Management Link in Start Menu
Add New Application Group
In the left hand panel expand the ‘AD FS’ folder and click on ‘Application Groups’ then click on ‘Add Application Group…’.
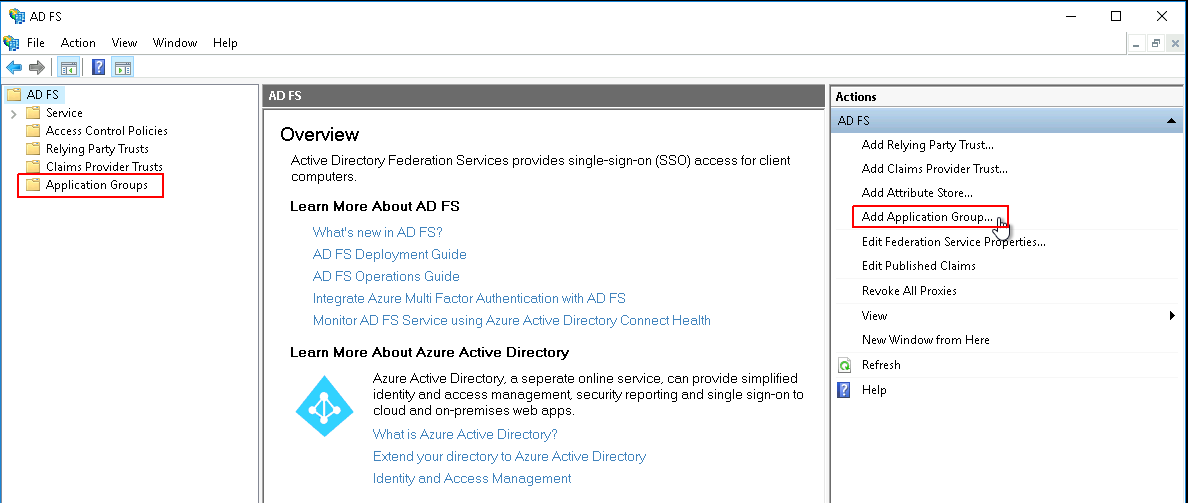
Adding an Application Group
In the Add Application Group Wizard set the Name to QATrack+ (or something else if you prefer). In the Template area select Web browser accessing a web application and then click Next >.
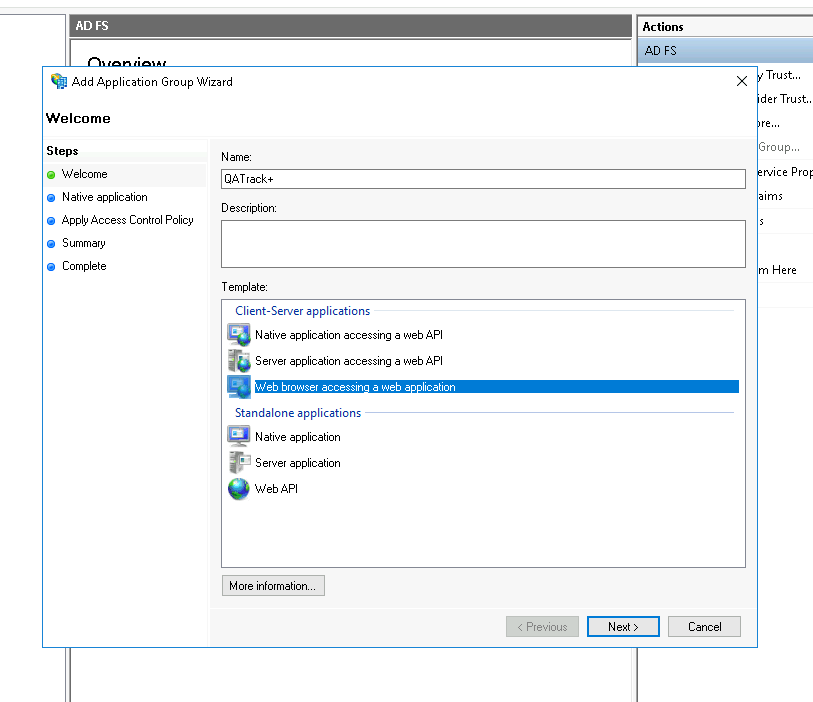
Add Application Group Wizard
Set Client Identifier & Redirect URI
On the next page set the Client Identifier to qatrackplus; this is what you will set the CLIENT_ID field to in your AUTH_ADFS settings. Set the Redirect URI to the url of your QATrack+ server with a path of accounts/oauth2/callback (no trailing slash) and then click Add. For example if your QATrack+ server is located at https://qatrack.yourhospital.com then you would set the Redirect URI to https://qatrack.yourhospital.com/accounts/oauth2/callback.
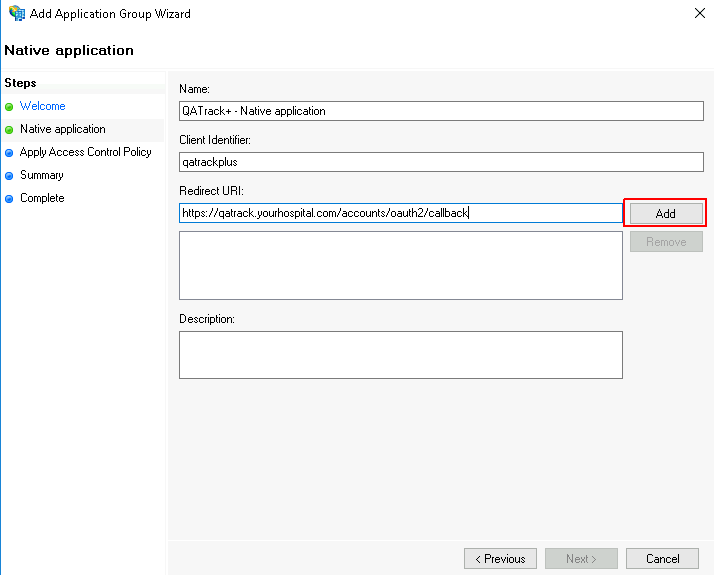
Native Application Page
On the next page leave the Policy as Permit everyone and click Next.
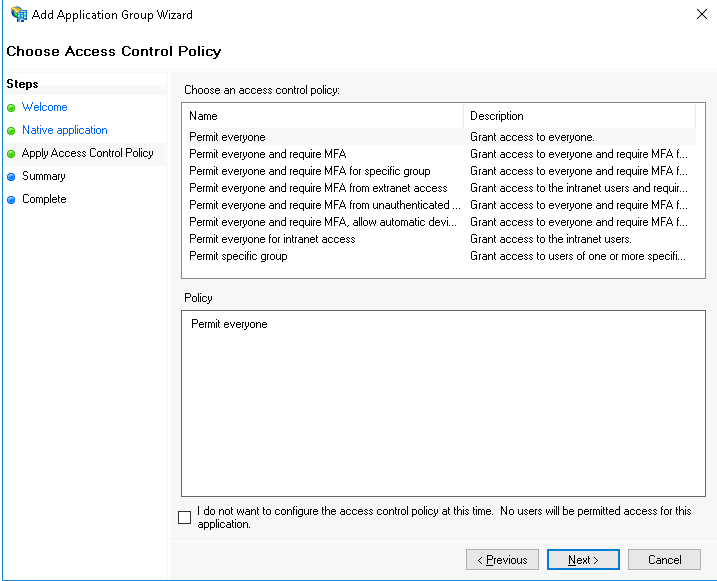
Access Control settings
On the Summary page confirm your settings are correct and click Next then Close.
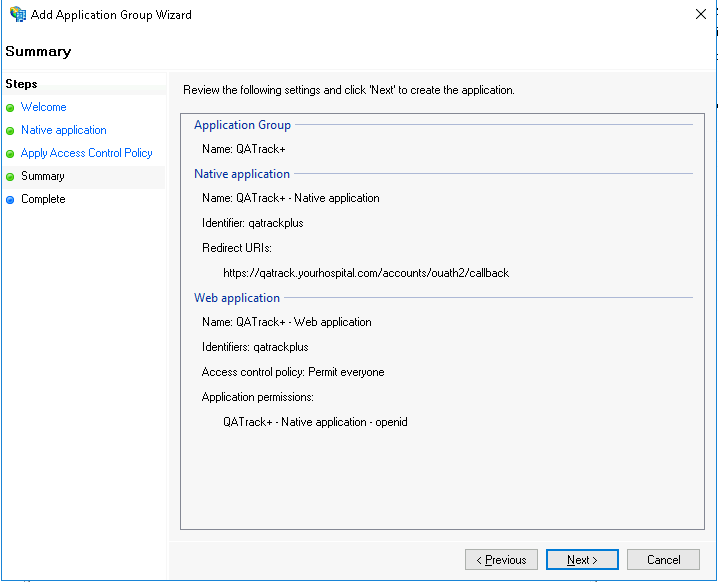
Settings Summary
You will now have a QATrack+ Application Group showing. Select it and then click Properties in the right hand pane.
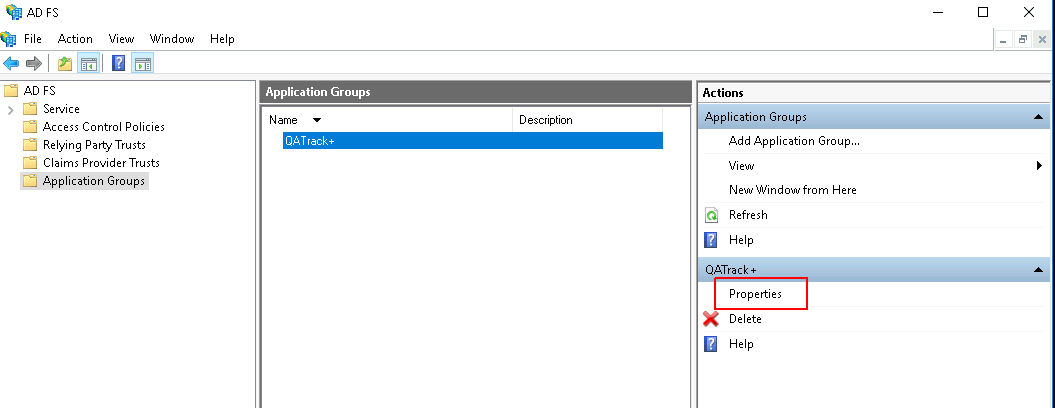
App group properties
In the QATrack+ Properties Dialog, select the QATrack+ - Web application item in the Web application section and then click Edit…
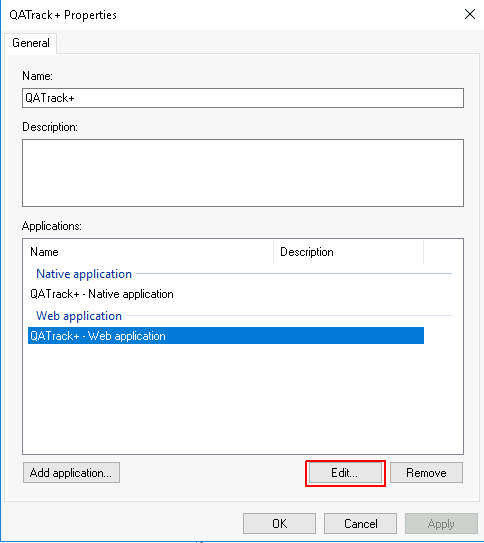
QATrack+ App group properties
Click on the Issuance Transform Rules tab at the top of the properties dialog and click Add Rule
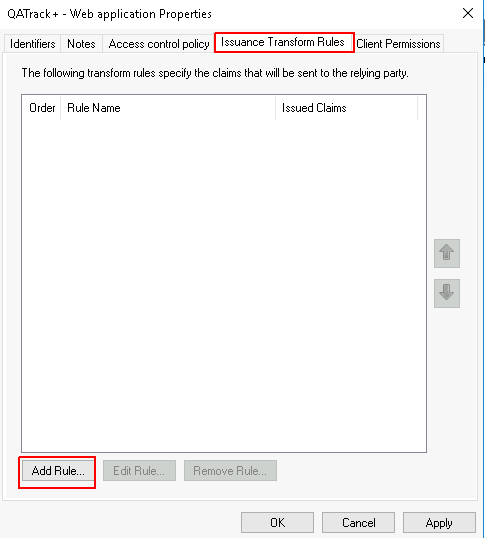
Issuance Transform Rules
Set the Claim rule template to Send LDAP Attributes as Claims and click Next.
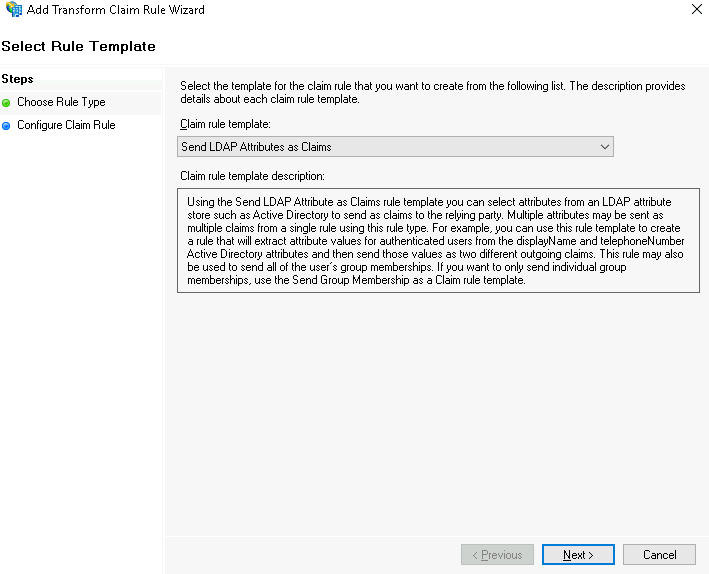
Select claim rule template
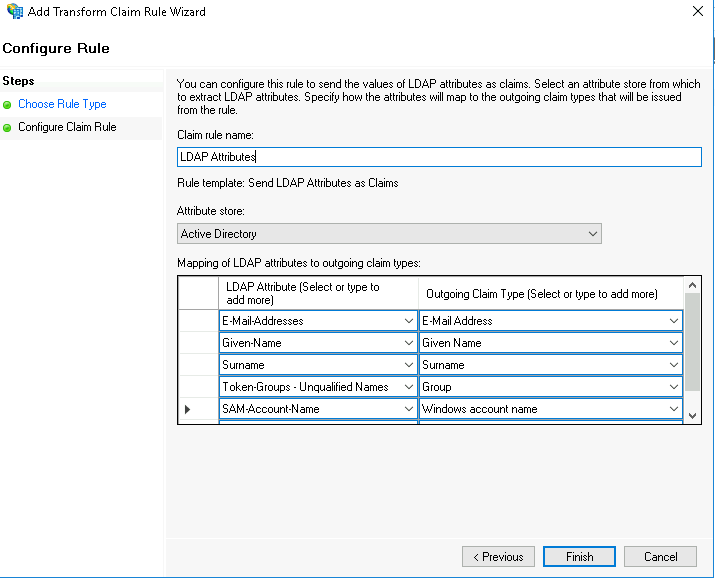
On the next page set the Claim rule name to LDAP Attributes and set the Attribute store to Active Directory. In the Mapping of LDAP attributes to outgoing claim types field set the following attributes:
LDAP Attribute |
Outgoing Claim Type |
|---|---|
E-Mail-Addresses |
E-Mail Address |
Given-Name |
Given Name |
Surname |
Surname |
Token-Groups - Unqualified Names |
Group |
SAM-Account-Name |
Windows account name |
then click Finish:
Setting up the claims
and OK:
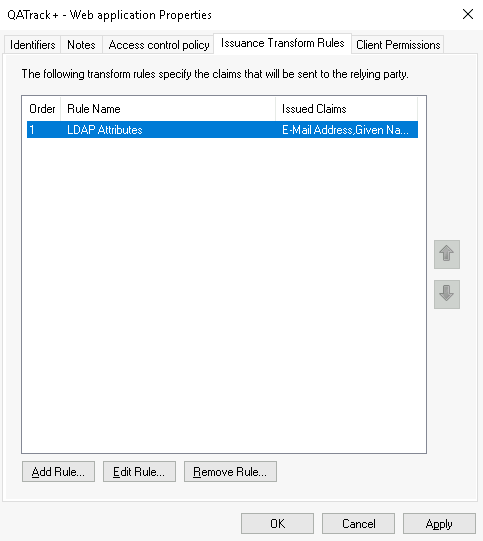
Issuance rules set
You can now proceed to configure your QATrack+ application to use AD FS. The settings you will need are:
SERVER: The HostName of your ADFS server. For example adfs.yourhospital.com. You can retrieve this setting by opening a PowerShell window and entering:
Get-AdfsProperties | select HostName | Format-List
CLIENT_ID: Use qatrackplus or whatever you set the Client Identifier to above.
To double check this setting open a PowerShell window and enter:
Get-AdfsNativeClientApplication -Name "QATrack+ - Native application"
and look for the Identifier field.
RELYING_PARTY_ID: The Relying Party Identifier will be the same as the CLIENT_ID setting e.g. qatrackplus double check this setting open a PowerShell window and enter:
Get-AdfsWebApiApplication | select Identifier | Format-List
AUDIENCE: Use the RELYING_PARTY_ID setting but prefixed with microsoft:identityserver: e.g. microsoft:identityserver:qatrackplus