Configuring ADFS 2012 (ADFS 3.0)
The following will give a step by step on how to configure QATrack+ as a client application in Active Directory Federation Services 3.0 (AD FS 2016).
Adding an ADFS Relying Party Trust
First, launch AD FS Management, which can be located in the Start Menu under Windows Administrative Tools:
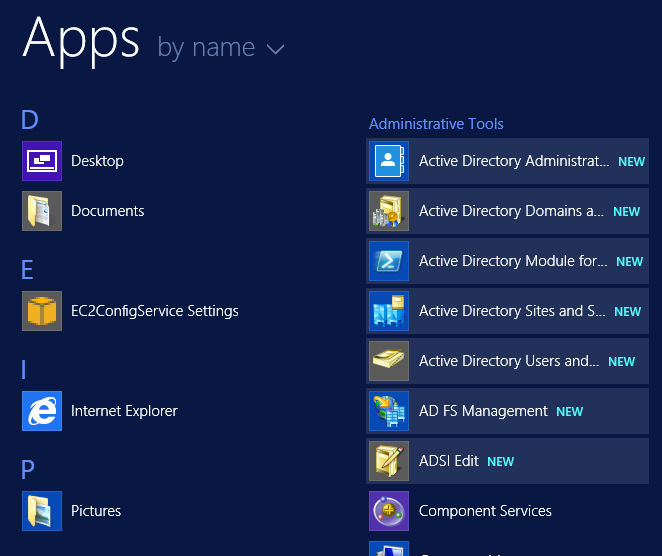
AD FS Management Link in Start Menu
In the left hand panel expand the ‘AD FS’ folder and click on ‘Trust Relationships’ then click on ‘Add Relying Party Trust…’.
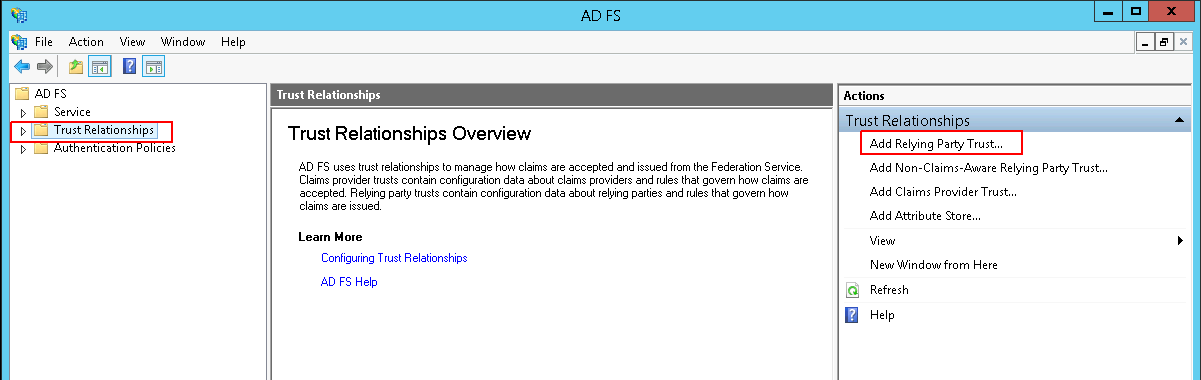
Adding a Relying Party Trust
In the Add Relying Party Trust Wizard click ‘Enter data about the relying party manually’ and then click Next
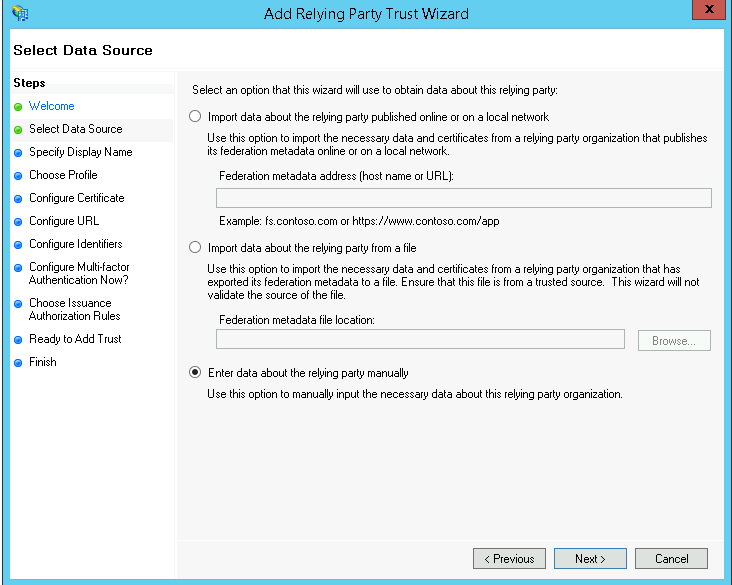
Choose to enter the data about the reyling party manually
set the Display Name to QATrack+ and click Next.
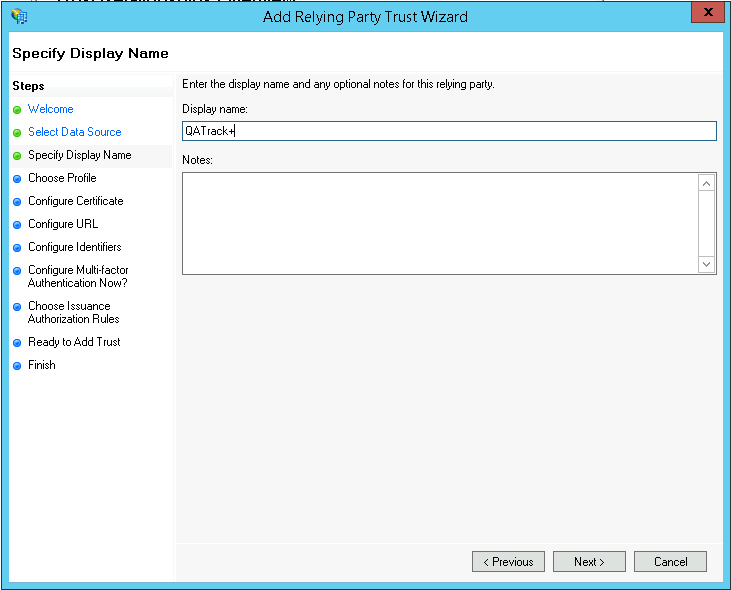
Setting the display name
On the next page keep the Profile selection as AD FS profile
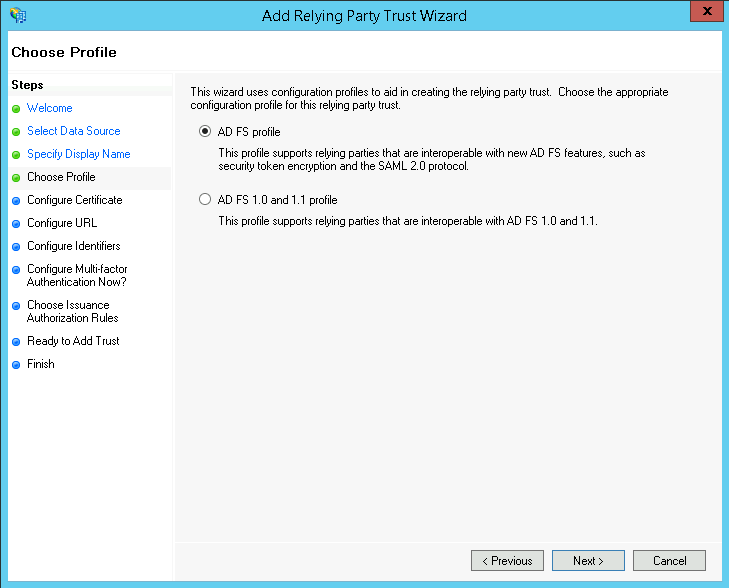
Select the AD FS profile option
On the next page Leave the Certificate blank and click Next
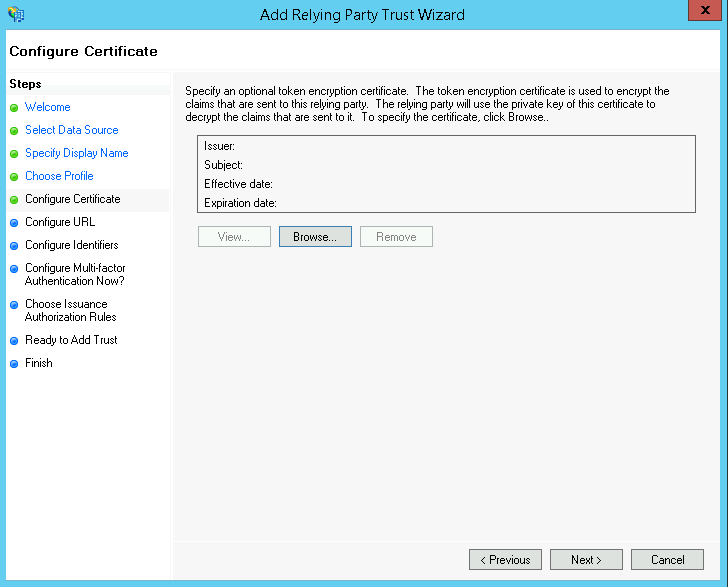
Leave the certificate blank
Likewise on the Configure URL page leave both options unchecked and click Next
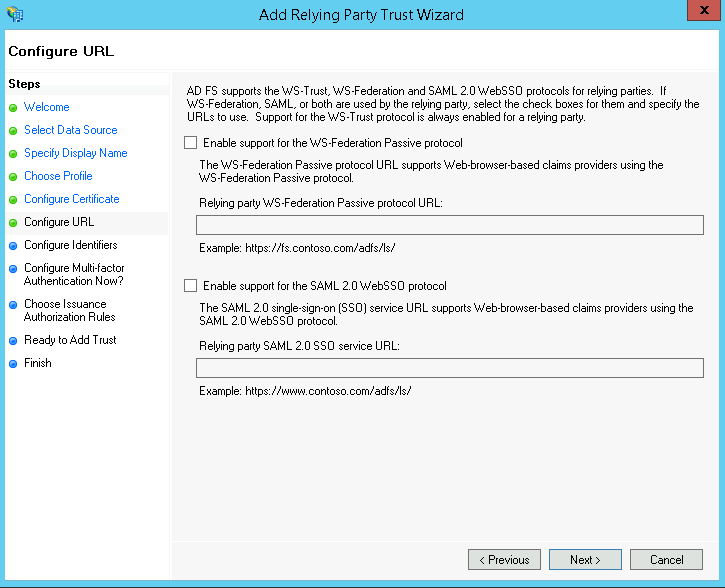
WS-Federation Passive and SAML2.0 WebSSO protocols unchecked
On the Configure Identifiers page set the Relying party trust identifier to qatrackplus (this is what you will set the CLIENT_ID field to in your AUTH_ADFS settings) and click Add.
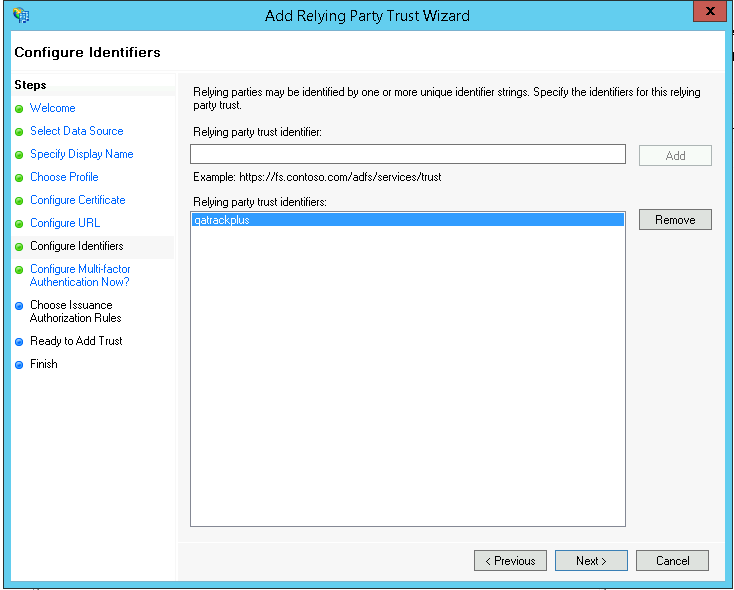
Set the relying party trust identifier to qatrackplus
On the Configure Multi-factor Authentication Now page leave the I do not want to configure multi-factor authentication settings for this relying party trust at this time option selected and click Next.
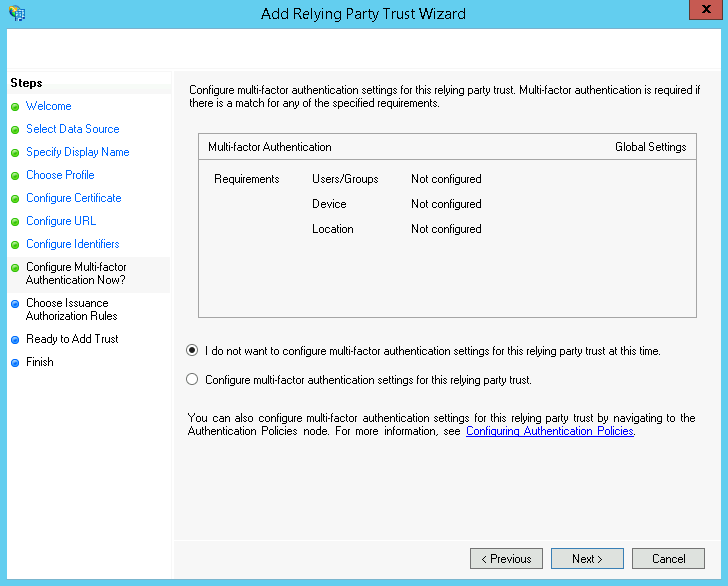
Do not configure MFA at this time
On the Choose Issuance Authorization Rules page select Permit all users to access this relying party and click Next.
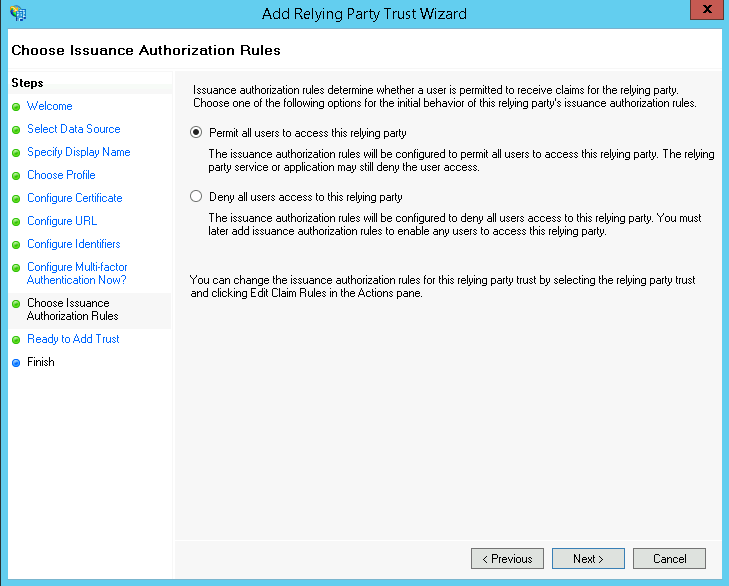
Permit All Users
On the Ready to Add Trust page click Next and then on the final page select Open the Edit Claim Rules dialog for this relying party trust when the wizard close and click Close
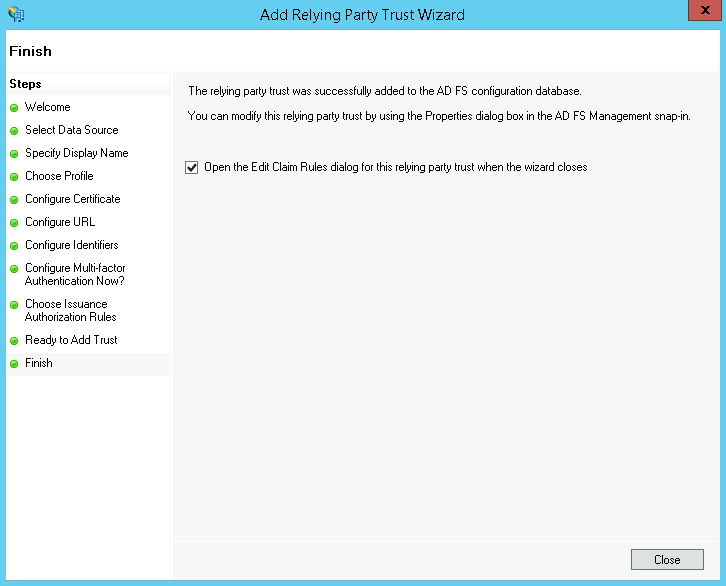
Open claims rules
In the Edit Claim Rules for QATrack+ dialog, on the Issuance Transform Rules click Add Rule:
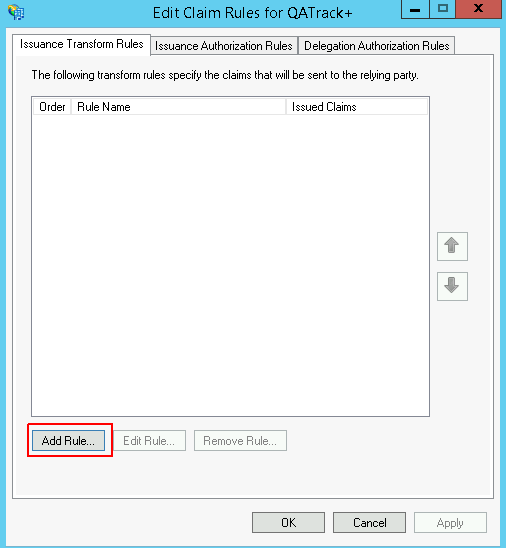
Add a rule
Ensure Send LDAP Attributes as Claims is selected and click Next:
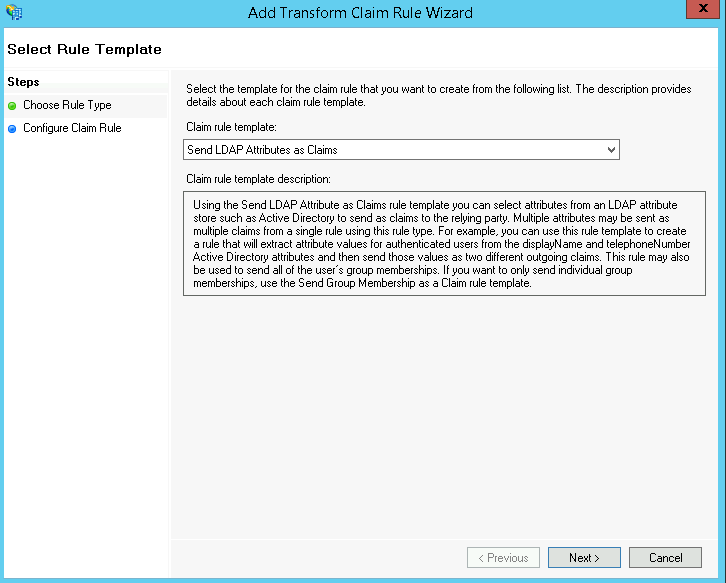
Send LDAP Attributes as Claims
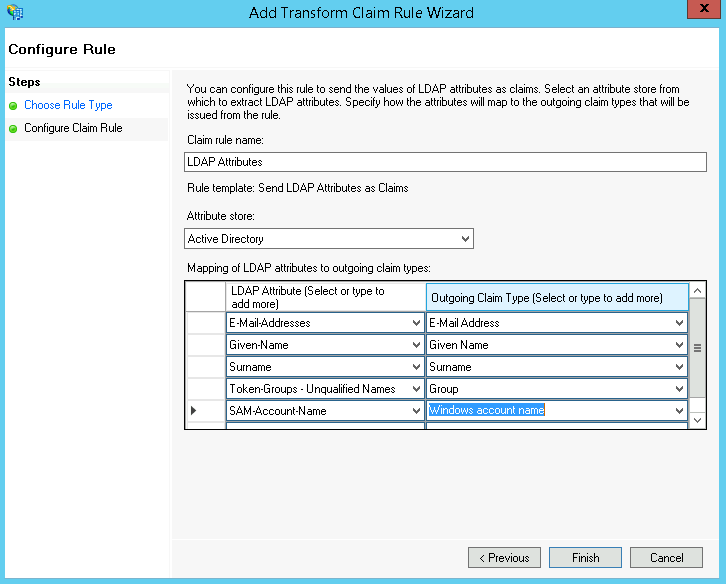
On the next page set the Claim rule name to LDAP Attributes and set the Attribute store to Active Directory. In the Mapping of LDAP attributes to outgoing claim types field set the following attributes:
LDAP Attribute |
Outgoing Claim Type |
|---|---|
E-Mail-Addresses |
E-Mail Address |
Given-Name |
Given Name |
Surname |
Surname |
Token-Groups - Unqualified Names |
Group |
SAM-Account-Name |
Windows account name |
then click Finish and then OK:
LDAP Attributes Map
and then click OK.
Now open a PowerShell Window and enter the following command making sure to set the RedirectUri to the url of your QATrack+ server with a path of accounts/oauth2/callback (no trailing slash). For example if your QATrack+ server is located at https://qatrack.yourhospital.com then you would set the Redirect URI to https://qatrack.yourhospital.com/accounts/oauth2/callback.
Add-ADFSClient -Name "QATrack+ OAuth2 Client" `
               -ClientId "qatrackplus" `
               -RedirectUri "https://qatrack.yourhospital.com/accounts/oauth2/callback"

Adding the QATrack+ client
You can now proceed to configure your QATrack+ application to use AD FS. The settings you will need are:
SERVER: The HostName of your ADFS server. For example adfs.yourhospital.com. You can retrieve this setting by opening a PowerShell window and entering:
Get-AdfsProperties | select HostName | Format-List
CLIENT_ID: Use qatrackplus or whatever you set the Client Identifier to above. To double check this setting open a PowerShell window and enter:
Get-ADFSClient -Name "QATrack+ OAuth2 Client"
RELYING_PARTY_ID: Use the Relying Party Identifier you set above e.g. qatrackplus. To double check this setting open a PowerShell window and enter:
Get-AdfsRelyingPartyTrust -Name "QATrack+" | Select Identifier
AUDIENCE: Use the RELYING_PARTY_ID setting but prefixed with microsoft:identityserver: e.g. microsoft:identityserver:qatrackplus