Using the QATrack+ API
As of version 0.3.0 QATrack+ now includes a JSON API for accessing or uploading data using external scripts/programs. The primary intent of this API is to allow users to write their own applications for automating the completion of test lists. For example, you may want to write a script that runs every day (via a cron job or Windows Task Scheduler) which retrieves data from a hardware device used for daily output measurements and then uploads that data to QATrack+.
You are free to use any language which is capable of parsing/serializing JSON and making requests via http(s) but the examples below will use Python 3.x and the requests library.
Getting an API Token
Every application/script that accesses the API requires an authentication token which is connected to a QATrack+ user. You can either set up a new user in QATrack+ specifically for API access, or use an existing username/password.
To retrieve an API token you need to make a request similar to the following:
import requests

root = "http://yourservernamehere/api"
token_url = root + "/get-token/"
resp = requests.post(token_url, {'username': 'user', 'password': 'password'})
token = resp.json()['token']
Once you have retrieved the API token you must include it with every API request as an HTTP Authorization header with the value Token your-token-here. For example:
headers = {"Authorization": "Token %s" % token}
resp = requests.get(api, headers=headers)
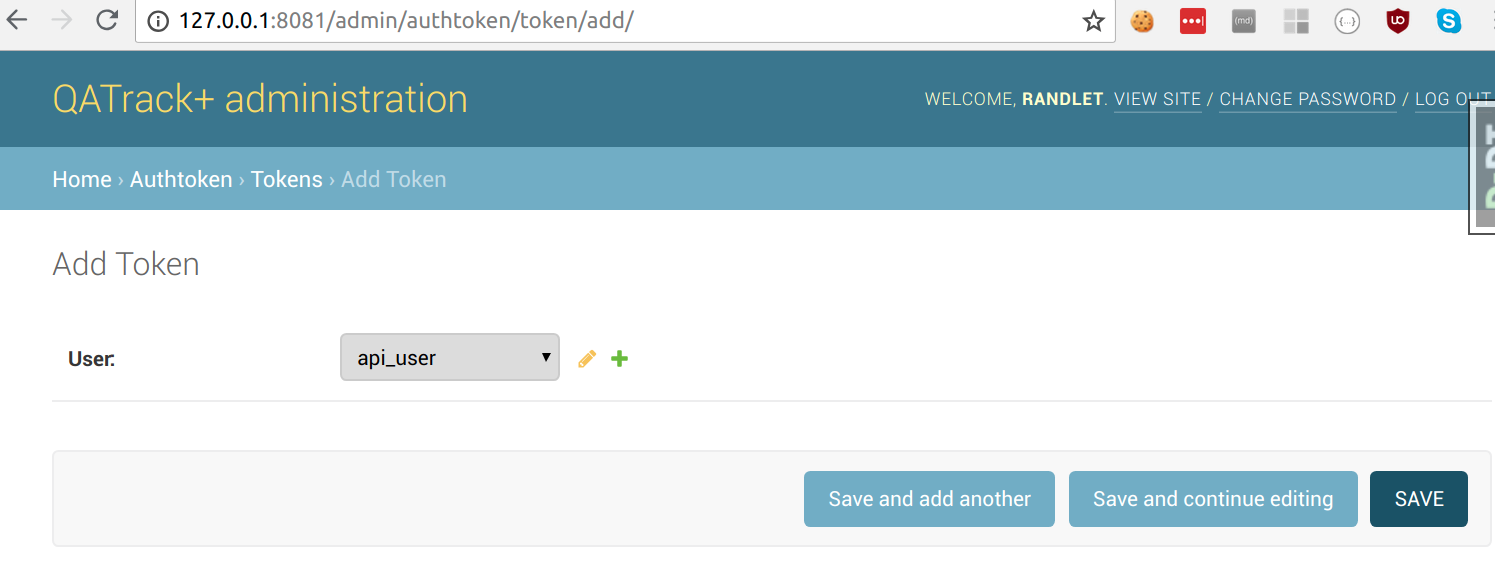
Note, you can also create an API token in the QATrack+ admin section by going to /admin/authtoken/tokenproxy and clicking Add Token:

and then selecting the user you want to create the token for and clicking Save:
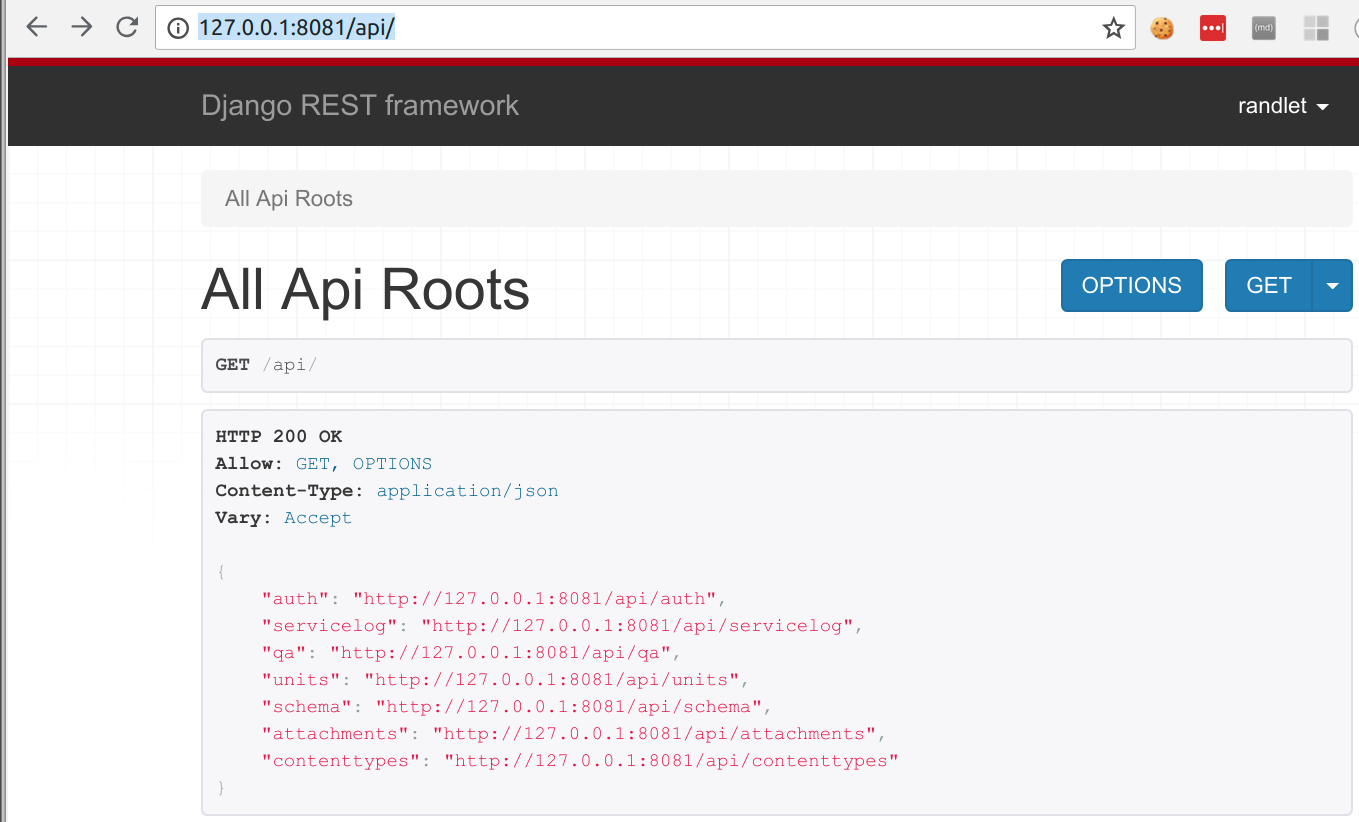
Viewing the API online
In addition to the JSON API, the QATrack+ is browsable via a web browser by visiting /api:
The API schema including all endpoints is also available at the /api/schema/ endpoint:
resp = requests.get(root + '/schema', headers=headers)
print(resp.json())
Retrieving Data
In order to retrieve data from the API you need to make a request to the relevant API endpoint which is demonstrated for a number of cases below:
Getting a list of available units
resp = requests.get(root + '/units/units', headers=headers)
print(resp.json())
# results in data like:
{
    'count': 18,
    'next': None,
    'previous': None,
    'results': [
        {
            'active': True,
            'date_acceptance': '2018-01-01',
            'install_date': None,
            'is_serviceable': False,
            'location': '',
            'modalities': [
                'http://127.0.0.1:8081/api/units/modalities/1/',
                'http://127.0.0.1:8081/api/units/modalities/2/'
            ],
            'name': 'Unit 1',
            'number': 1,
            'restricted': False,
            'serial_number': '',
            'site': None,
            'type': 'http://127.0.0.1:8081/api/units/unittypes/7/',
            'url': 'http://127.0.0.1:8081/api/units/units/5/'
        },
        {...}
    ]
}
Getting a specific units details
resp = requests.get(root + '/units/units/1', headers=headers)
print(resp.json())
# results in data like:

{
    'active': True,
    'date_acceptance': '2018-01-01',
    'install_date': None,
    'is_serviceable': False,
    'location': 'TBCC',
    'modalities': ['http://127.0.0.1:8081/api/units/modalities/1/'],
    'name': 'Unit 3',
    'number': 3,
    'restricted': False,
    'serial_number': '799',
    'site': None,
    'type': 'http://127.0.0.1:8081/api/units/unittypes/7/',
    'url': 'http://127.0.0.1:8081/api/units/units/1/'
}
Getting a list of Test Lists
resp = requests.get(root + '/qa/testlists', headers=headers)
print(resp.json())
# results in data like:

{
    'count': 145,
    'next': 'http://127.0.0.1:8081/api/qa/testlists/?limit=100&offset=100',
    'previous': None,
    'results': [
        {
            'created': '2014-05-30T16:11:05-04:00',
            'created_by': 'http://127.0.0.1:8081/api/auth/users/9/',
            'description': '',
            'javascript': None,
            'modified': '2014-07-24T13:59:43-04:00',
            'modified_by': 'http://127.0.0.1:8081/api/auth/users/9/',
            'name': 'Accessory inspection',
            'slug': 'accessory-inspection',
            'tests': ['http://127.0.0.1:8081/api/qa/tests/104/',
                'http://127.0.0.1:8081/api/qa/tests/105/'],
            'url': 'http://127.0.0.1:8081/api/qa/testlists/6/',
            'warning_message': 'Do not treat'
        },
        {...}
    ]
}
Getting a specific test lists details
resp = requests.get(root + '/qa/testlists/1', headers=headers)
print(resp.json())
# results in data like:
{
    'created': '2014-05-30T16:11:05-04:00',
    'created_by': 'http://127.0.0.1:8081/api/auth/users/9/',
    'description': '',
    'javascript': None,
    'modified': '2014-07-24T13:59:43-04:00',
    'modified_by': 'http://127.0.0.1:8081/api/auth/users/9/',
    'name': 'Accessory inspection',
    'slug': 'accessory-inspection',
    'tests': ['http://127.0.0.1:8081/api/qa/tests/104/',
    'http://127.0.0.1:8081/api/qa/tests/105/'],
    'url': 'http://127.0.0.1:8081/api/qa/testlists/6/',
    'warning_message': 'Do not treat'
}
Pagination of data
When requesting data from the API, by default you will get up to 100 results per request. You can change the page and page size by using the limit/offset query parameters. For example to retrieve the first two pages of data with 10 results per page:
page1 = requests.get(root + '/qa/testlists/?limit=10&offset=0', headers=headers)
page2 = requests.get(root + '/qa/testlists/?limit=10&offset=10', headers=headers)

# or alternatively
page2 = requests.get(page1.json()['next'], headers=headers)
page3 = requests.get(page2.json()['next'], headers=headers)
To process results in a loop:
page = requests.get(root + '/qa/testlists/?limit=10&offset=0', headers=headers)
while page.json()['next']:
    page = requests.get(page.json()['next'], headers=headers)
    # do something with page data
Filtering and Ordering data
Data retrieved from the API can also be filtered so that only a subset of available results are included. For example, to retrieve all tests lists whose name contains the phrase “Sim”:
resp = requests.get(root + '/qa/testlists/?name__contains=Sim', headers=headers)
The filtering can also cross foreign key references. As an example, to find all UnitTestCollections whose Unit name is “Unit 1”:
resp = requests.get(root + '/qa/unittestcollections/?unit__name__icontains=Unit 1', headers=headers)
Here’s an example of getting Test Instance data for a specific Test and Unit:
url = root + '/qa/testinstances/'
params = {
    "unit_test_info__unit__name__icontains": "Unit Name",
    "unit_test_info__test__name__icontains": "Test Name",
    "ordering": "-work_completed",
}

resp = requests.get(url, params, headers=headers)
payload = resp.json()
data = [(x['work_completed'], x['value']) for x in payload['results']]
Note the use of a dictionary of GET parameters here rather than placing them in the url directly. Both methods are more or less equivalent. This example also demonstrates how to order the data from your request using the ordering key.
QATrack+ uses Django-Rest-Framework-Filters for it’s filtering so more information about the filtering tools available an be found in DRFF’s documentation.
Uploading Data
The real power of the API is the ability to complete TestLists programatically. In order to demonstrate the API, we will submit two number entries via the API to perform a test list that adds two numbers together shown here:
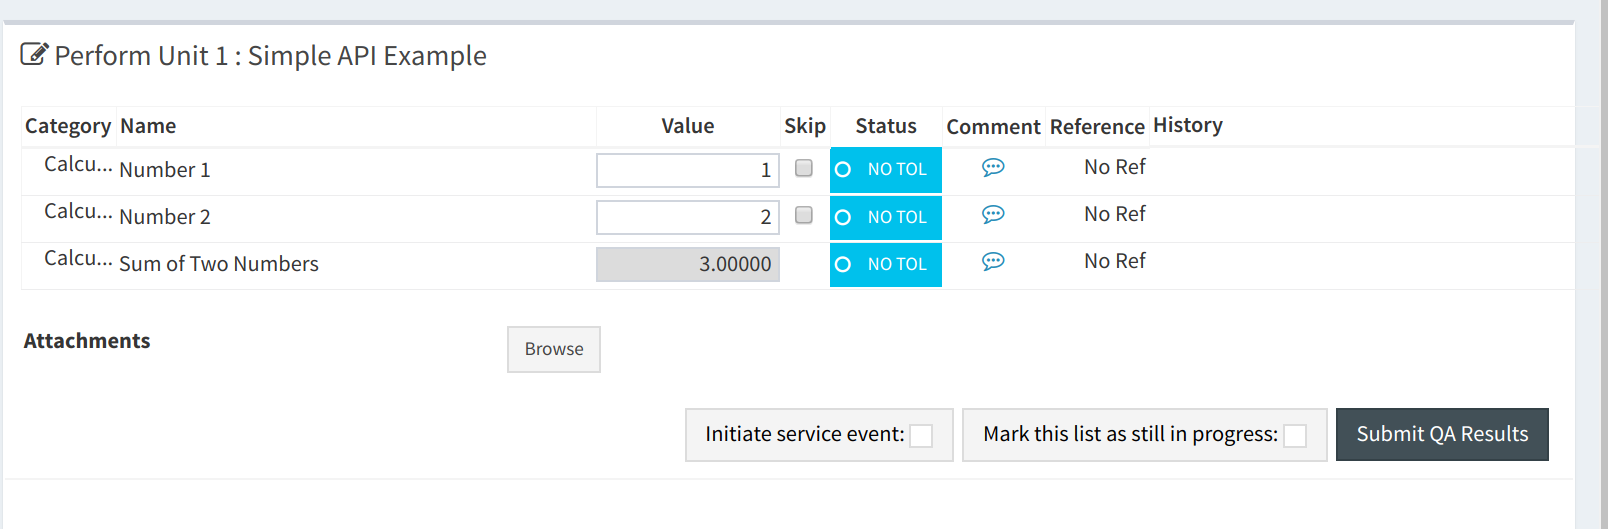
A script that will find the above test list, and submit the data is shown here:
import requests
root = "http://yourservernamehere/api"
token_url = root + "/get-token/"
resp = requests.post(token_url, {'username': 'user', 'password': 'password'})
token = resp.json()['token']
headers = {"Authorization": "Token %s" % token}

# first find the UnitTestCollection we want to perform
resp = requests.get(root + '/qa/unittestcollections/?unit__name__icontains=Unit 1&test_list__name__icontains=Simple API Example', headers=headers)
utc_url = resp.json()['results'][0]['url']

# prepare the data to submit to the API. Notice you don't need to submit a value for
# sum_of_two since it is calculated from number_1 and number_2
data = {
    'unit_test_collection': utc_url,
    'day': 0, # optional day=0, for TestLists, required for Test List Cycles (where 0 <= day < # of test lists in cycle)
    'in_progress': False,  # optional, default is False
    'include_for_scheduling': True,
    'work_started': "2018-07-6 10:00",
    'work_completed': "2018-07-6 11:00",  # optional
    'user_key': "12345",  # optional, allows you ensure uniqueness of results
    'comment': "test list comment",  # optional
    'tests': {
        'number_1': {'value': 1, 'comment': "hello number 1"}, # comment is optional
        'number_2': {'value': 2, 'skipped': False},  # value is mandatory, skipped is optional
    },
    'attachments': []  # optional
}
resp = requests.post(root + "/qa/testlistinstances/", json=data, headers=headers)

print(resp.json())

# data returned from the API
{
    'all_reviewed': False,                                                                                                                                                [11/8824]
    'created_by': 'http://127.0.0.1:8081/api/auth/users/65/',
    'day': 0,
    'due_date': None,
    'in_progress': False,
    'include_for_scheduling': True,
    'reviewed': None,
    'reviewed_by': None,
    'site_url': 'http://127.0.0.1:8081/qa/session/details/2991/',
    'test_list': 'http://127.0.0.1:8081/api/qa/testlists/206/',
    'unit_test_collection': 'http://127.0.0.1:8081/api/qa/unittestcollections/327/',
    'url': 'http://127.0.0.1:8081/api/qa/testlistinstances/2991/',
    'work_completed': '2018-07-06T11:00:00-04:00',
    'work_started': '2018-07-06T10:00:00-04:00'
    'tests': {
        'number_1': {
            'attachments': [],
            'comment': 'hello number 1',
            'diff_display': '',
            'pass_fail': ['no_tol', 'No Tol Set'],
            'reference': None,
            'skipped': False,
            'status': '/api/qa/testinstancestatus/1/',
            'string_value': '',
            'tolerance': None,
            'url': '/api/qa/testinstances/19317/',
            'value': 1.0,
            'value_display': '1'
        },
        'number_2': {
            'attachments': [],
            'comment': '',
            'diff_display': '',
            'pass_fail': ['no_tol', 'No Tol Set'],
            'reference': None,
            'skipped': False,
            'status': '/api/qa/testinstancestatus/1/',
            'string_value': '',
            'tolerance': None,
            'url': '/api/qa/testinstances/19318/',
            'value': 2.0,
            'value_display': '2'
        },
        'sum_of_two': {
            'attachments': [],
            'comment': '',
            'diff_display': '',
            'pass_fail': ['no_tol', 'No Tol Set'],
            'reference': None,
            'skipped': False,
            'status': '/api/qa/testinstancestatus/1/',
            'string_value': '',
            'tolerance': None,
            'url': '/api/qa/testinstances/19319/',
            'value': 3.0,
            'value_display': '3'
        }
    },
}
A few things to note:
Some fields like comment, in_progress, include_for_scheduling, and attachments are optional
The tests key is a dictionary of the form (skipped and comment keys are optional):
{
    'macro_name_1': {'value': <value>, 'skipped': True|False, 'comment': 'comment'},
    'macro_name_2': {...}
}
You don’t need to submit data for sum_of_two since it is a composite test and calculated automatically.
The url key contains the hyperlink where you can view the completed TestListInstance online.
Performing A Test List Cycle
In order to perform a Test List Cycle you must include a day key in your upload data. The day key is a 0-indexed integer indicating which day of the test list cycle you want to perform (e.g. if you want to perform day 1, you would use ‘day’: 0, and if you want to perform day 2, you would use ‘day’: 1).
Example data to perform day 2 of a test list cycle would look something like:
data = {
    'unit_test_collection': utc_url,
    'day': 1,  # note 0-indexed days so we use 1 for day 2
    'work_started': "2018-07-6 10:00",
    'work_completed': "2018-07-6 11:00",  # optional
    'tests': {
        ...
    },
}
Upload test types
In order to perform a test list that includes a File Upload test type, your test values should be a dictionary of the form {‘filename’: ‘some-file.name’, ‘value’: ‘file contents’, ‘encoding’: ‘text’|’base64’}. For example:
data = {
    ...
    'tests': {
        ...
        'upload_text_test': {
            'filename': 'test.txt',
            'value': 'hello text',  # or e.g. open("text_file.txt", "r").read()
            'encoding': 'text'
        },
        'upload_binary_test': {
            'filename': 'image.png',
            'value': base64.b64encode(open("path/to/image.png", 'rb').read()).decode(),
            'encoding': 'base64'
        },
    }
}
Note that binary files must be base64 encoded!
Attachments
Similar to File Upload test types, you can add arbitrary attachments to your TestListInstance in the following way:
data = {
    ...
    'tests': {
        ...
    }
    "attachments": [
        {
            'filename': 'some_report.pdf',
            'value': base64.b64encode(open("/path/to/some_report.pdf", 'rb').read()).decode(),
            'encoding': 'base64'
        },
    ],
}
Preventing Duplicate Entries with the user_key field
When uploading data in an automated fashion via the API, you may want to ensure that your script or program is not uploading the same data twice. To facilitate this, the TestListInstance API allows you to specify a unique “User Key”. The User Key has a uniqueness constraint enforced at the database level and posting data with a duplicated user_key will result in an HTTP 400 error code with a message “test list instance with this user key already exists”. To set the user_key for a test list instance include a unique identifier with your json data.
data = {
    'unit_test_collection': utc_url,
    ...
    'user_key': "some unique identifier",  # optional, allows you ensure uniqueness of results
    'tests': {
        ...
    },
}
How you choose the user_key is up to you but it is stored as a text field with a maximum length of 255 characters. Examples of user_key’s might be:
A Test List Name and Database Row ID: “Test List Name: 1234”
A Test List Name, Unit Name, and Timestamp: “SomeTestListName:Unit 123:2021-03-16 12:34”
An MD5 hash of a file:
import hashlib
user_key = hashlib.md5(open("some-file.dcm", "rb").read()).hexdigest()
FAQ
Q: My site is using https and Apache. Why is token authentication not working?: You need to add
# this can go in either server config, virtual host, directory or .htaccess
WSGIPassAuthorization On
to your Apache config. See: http://www.django-rest-framework.org/api-guide/authentication/#apache-mod_wsgi-specific-configuration for more details.
Q: Why is the API returning status 403 with {‘detail’: ‘You do not have permission to perform this action’}?: The user you are submitting your data with does not have permission to perform QA. Add the user to a group with the required permissions.
Q: Why is the API returning status 401 with {‘detail’: ‘Authentication credentials not provided’}?: You forgot to include the authorization token http header with your request.
Q: Why is the API returning status 401 with {‘detail’: ‘Invalid token’}?: You included an invalid authorization token http header with your request. Check to ensure your auth token is set correctly.
Q: My hospital uses a corporate proxy and I am having issues accessing the API.:
See a potential solution here: https://github.com/qatrackplus/qatrackplus/issues/585
API Tutorial Example
There is a tutorial on uploading image data for analysis via pylinac available here: Image Analysis Using pylinac and the QATrack+ API.